Start with the rules
Strategy Hub
Master table selection, basic strategy variations, side-bet mathematics, and session stop-loss limits with guides built for real sessions.
Strategy Pillars & Knowledge Clusters
 Table Selection & Rules
Master the 10-second felt reading checklist: 3:2 vs 6:5 payouts, S17 vs H17, deck counts, surrender rules, and table condition auditing.
 Playing Hands & Strategy Execution
A high-retention execution system for basic strategy: soft hands, pair splits, optimal doubles, stiff 12–16 totals, and dealer upcard triage.
 Online & Live Dealer Blackjack
Navigate RNG vs live streams, Infinite Blackjack mechanics, Bet Behind realities, multiplier fees, Provably Fair verification, and timer pressure.
 Variants & Side Bets Auditing
Objective evaluations of Free Bet, Spanish 21, Switch, Double Exposure, plus quantitative RTP audits of 21+3, Perfect Pairs, and Bust It.
 Session Discipline & Bankroll Protection
Practical bankroll allocation, unit sizing, stop-loss boundaries, betting progression debunking, bonus contribution audits, and tilt management.
How to Read Any Blackjack Table Before You Bet
A 10-second felt reading checklist: payouts, dealer soft-17 rules, deck penetration, and side rule fine print.

3:2 vs 6:5: The One Sign That Decides Your Table
Why 6:5 payouts triple the casino's mathematical advantage and why you must walk away immediately.
H17 vs S17: What the Dealer's Soft 17 Rule Means
Understand the H17 vs S17 rule, how dealer hitting on soft 17 adds 0.22% to the house edge, and key strategy shifts.

Single Deck, Double Deck or Shoe: What Really Changes
How deck count alters natural blackjack frequency, doubling value, card removal dynamics, and casino counter-rules.

DAS, Resplits and Double Limits: The Fine Print
The quantitative impact of Double After Split (DAS), Resplit Aces (RSA), and restrictive doubling rules on your bottom line.

Late Surrender: Where to Find It and When to Use It
Why forfeiting half your bet is a powerful mathematical weapon, exact surrender trigger hands, and EV comparisons.

Peek vs No Hole Card: Why European Rule Costs You
American Peek vs European No Hole Card (ENHC), how OBO works, and crucial strategy modifications when facing dealer 10 or Ace.
Table Minimums, Seat Position and Pace
How minimum bets dictate bankroll requirements, debunking the third base myth, and how table pace controls your hourly loss rate.
Learn Basic Strategy in 7 Days — and Keep It Under Pressure
A 7-day memory retention program breaking down 250+ decisions into logical grouped heuristics without memorizing tables.
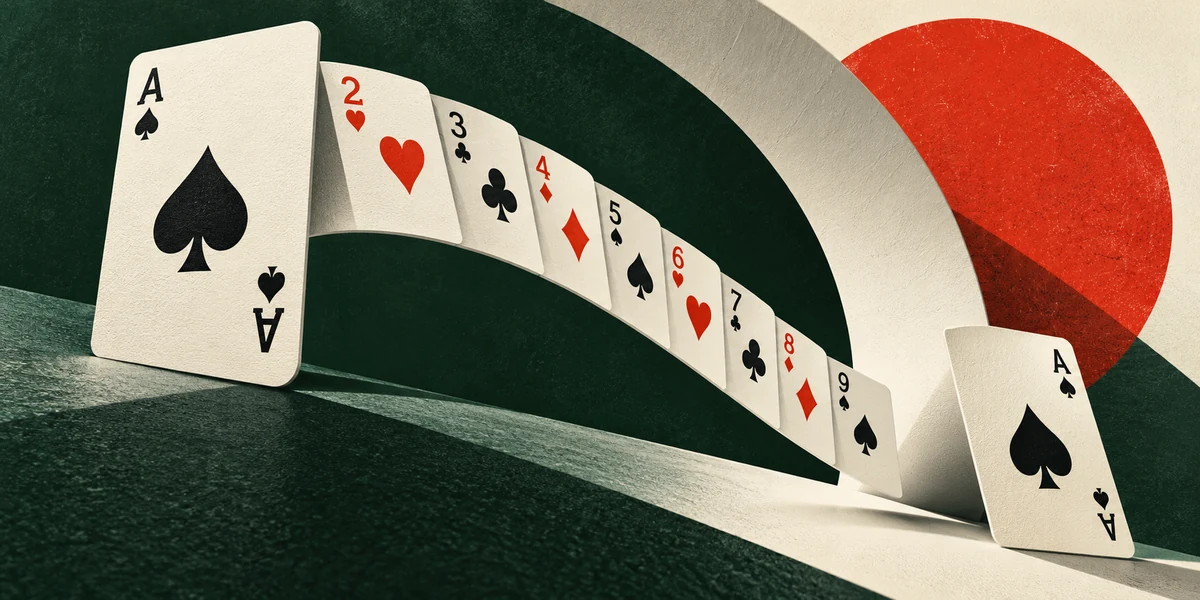
Soft Hands: Playing A-2 Through A-9
Mastering the multi-purpose weapon of soft hands: when to double aggressively and why you never stand on soft 17.

Splitting Pairs: Always, Never and "It Depends"
The three rules of pair splitting: always split Aces and 8s, never split 10s and 5s, and how DAS flips 2s, 3s, and 6s.

Doubling Down: The Money Moves Most Players Skip
Doubling down on 9, 10, and 11 accounts for the vast majority of positive EV situations in a player session.

Stiff Hands 12–16: Surviving Blackjack's Worst Spots
Why hitting a hard 16 against a dealer 7+ loses less money in the long run than standing, despite intuitive fear of busting.

Three-Card 16: When the Chart Bends
Composition-dependent strategy: why a 3-card 16 containing small cards flips from hit to stand against dealer 10.
Dealer Shows an Ace: Peek, Surrender and Damage Control
Minimizing loss velocity against the dealer's strongest upcard: peek protocols, surrender priorities, and insurance refusal.

The 2–6 vs 7–A Shortcut That Simplifies Everything
Categorizing dealer upcards into bust cards (2–6) versus power cards (7–A) to cut decision fatigue in half.
RNG vs Live Dealer: Which Game Are You Playing?
Comparing algorithmic random number generation against physical card streams: deck reshuffling, speed, and fairness.
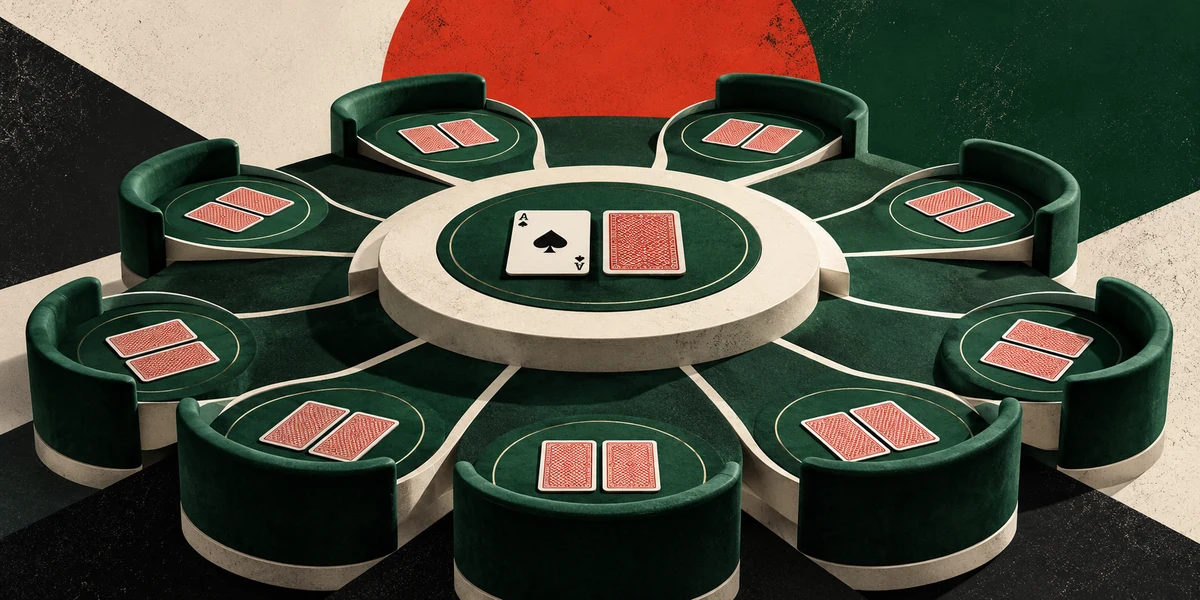
Infinite Blackjack: One Hand, Unlimited Players
How scalable live tables work: shared community starting cards, individualized independent decision trees, and 6-Card Charlie rules.

Bet Behind: Riding Someone Else's Hand
The strategic risks of betting on another player's decisions: bad play exposure, double/split options, and EV degradation.

Power and Lightning: Do Multipliers Beat Hidden Costs?
Dissecting the 100% lightning fee on winning bets and rule compromises: why extreme multiplier variants carry an inflated house edge.

Provably Fair: How to Verify Every Hand
A step-by-step cryptographic audit protocol: server seeds, client seeds, nonces, and unmanipulated deck permutations on Stake.
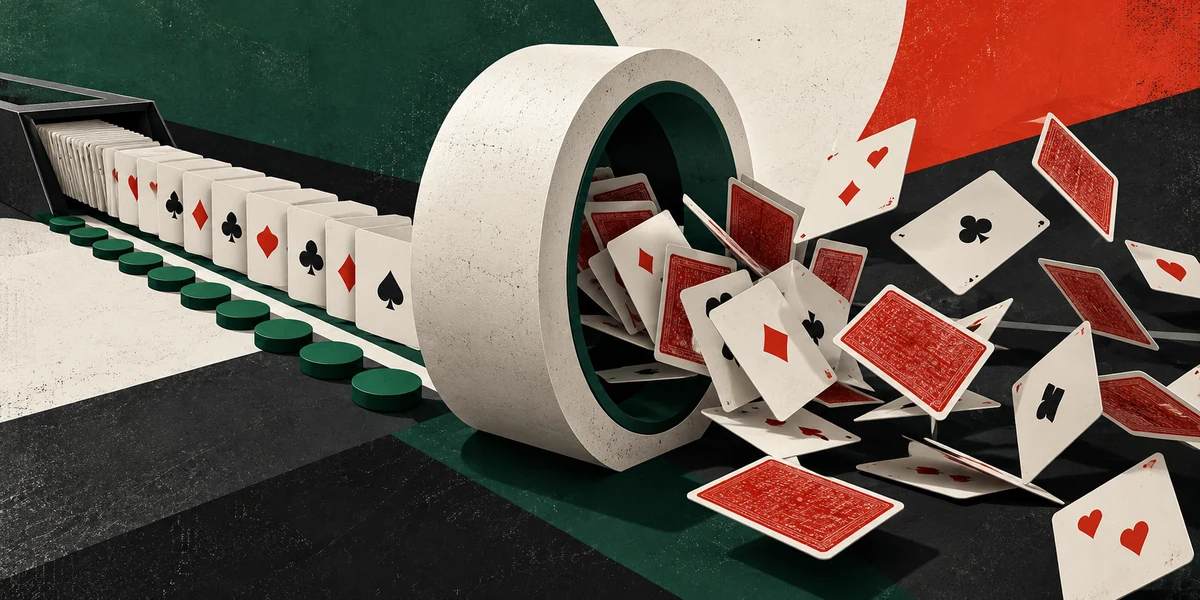
Can You Count Cards Online? The Shuffle Reality Check
Why 50% penetration shoe cutting and Continuous Shuffling Machines (CSMs) mathematically eradicate card counting advantage online.
Beat the Decision Timer: Playing Without Panic
Eliminating panic-induced misplays under 10-second live timers using auto-stand presets and default basic strategy shortcuts.
Blackjack on Mobile: Interface Traps and Auto-Play
Avoiding misclicks, fat-finger doubles, accidental insurance purchases, and risky portrait-mode auto-rebet settings on mobile.
Blackjack Variants: Which Ones Deserve Your Seat
An objective grading of modern blackjack twists: evaluating rule tradeoffs, required strategy adjustments, and true house edge.

Free Bet Blackjack: Free Doubles, Push 22 and the Real Price
How Geoff Hall's popular variant works: mastering free double downs, free splits, and managing the painful 6.9% Push 22 tax.
Spanish 21: No Tens, Bonus Payouts, Different Strategy
Mastering the 48-card Spanish shoe: surviving the removal of 10s, exploiting bonus 21 payouts, and executing custom strategy.
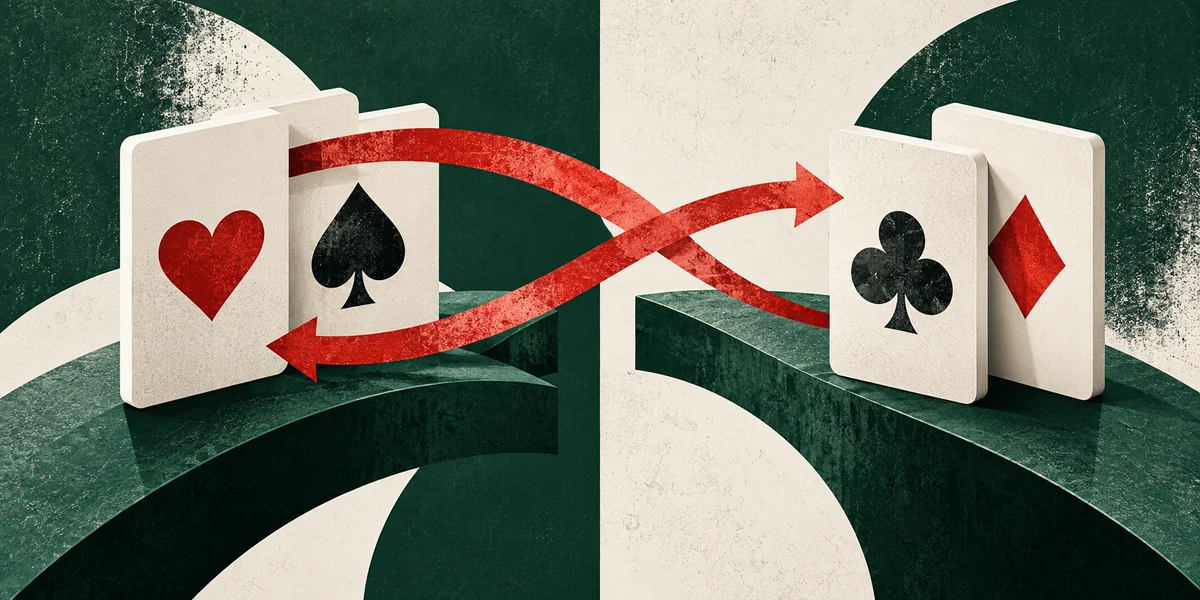
Blackjack Switch: Trading Cards Between Two Hands
The mechanics of playing two hands simultaneously: how card switching creates monster hands, and navigating the 1:1 blackjack and Push 22 penalties.

Double Exposure: Seeing Both Dealer Cards Has a Price
The psychological illusion of total visibility: why seeing both dealer cards costs ties and natural 3:2 payouts, and radical strategy shifts.

21+3 Side Bet: Poker on Your Blackjack Table
Deconstructing the most popular side bet in the world: paytable variances, combinatorial hit frequencies, and the true house edge.

Perfect Pairs: How the Paytable Makes a Bad Bet Look Good
An audit of the classic pair side bet: comparing mixed, colored, and suited payouts, evaluating shoe deck impact, and avoiding the 6% house edge.

Bust It: Betting on the Dealer to Break
The psychology of betting on dealer busts: how card count ladders work, understanding true bust probabilities, and exposing the 6.4% house edge.
The Blackjack Session Plan: Buy-In, Stop Rules and Walk-Away
A quantitative session blueprint: establishing unit bankrolls, non-negotiable stop-loss limits, session timers, and walking triggers.

How Many Units to Bring: Blackjack Buy-In Architecture
Why walking up to a blackjack table with 10 units guarantees ruin: structuring operational liquidity for variance, doubles, and splits.

Stop-Loss and Win Goals: What They Really Do and Don't Do
Deconstructing exit rules: why stop-loss limits cannot alter mathematical expectation, but serve as vital shields against emotional tilt.

Martingale, Paroli, 1-3-2-6: A Mathematical Reality Check
Why betting progressions cannot overcome the house edge: analyzing Martingale ruin curves, Paroli limits, and table maximum traps.

Blackjack and Casino Bonuses: Contribution Rates and Fine Print
The mathematics of clearing casino promotions on blackjack: calculating effective wagering requirements, contribution taxes, and max-bet traps.

Rakeback, Cashback and VIP Programs: What Real Volume Returns
Auditing casino loyalty mechanics: calculating rakeback percentages on low-edge blackjack, VIP tier progression, and genuine rebate value.

Tilt After a Bad Shoe: Spotting and Stopping Emotional Drift
The psychology of disadvantage play: identifying subconscious tilt cues, irrational dealer blaming, and executing the mandatory walk protocol.
Keep a Blackjack Session Log: The Habit That Keeps You Honest
The quantitative tracking habit: capturing session variables, tracking actual vs theoretical hold, and eliminating selective memory bias.